How to create immersive stories using Adobe Slate
The iPad app is now available as a web platform for creating engaging stories using images and text
– 4 min read
The iPad app is now available as a web platform for creating engaging stories using images and text
This article was migrated from an old version of our website in 2025. As a result, it might have some low-quality images or non-functioning links - if there's any issues you'd like to see fixed, get in touch with us at info@journalism.co.uk.
People are more likely to read through a whole story and remember it if it involves a certain degree of interactivity, and if it transitions to a smooth mobile presentation.
For example, a recent New York Times piece on the impact of global warming in Greenland included video footage filmed with a drone, proving popular with readers as it allowed them to dive deeper into the images through a simple, yet slick, scrolling motion.
Of course, creating an immersive story template from scratch may sound complicated and time consuming, or involve slightly more coding than you would like to consider.
Adobe released its Slate storytelling app for iPad in April and its web version was launched last week, available as a free standalone platform or as part of a paid Adobe Creative Cloud subscription.
It is quick and easy to use, especially if you have access to beautiful photographs but are struggling to showcase them in a more interesting way than a picture gallery.
It can also come in handy if your publishing platform or CMS has certain restrictions to what you can build or embed within stories.
This guide will explain how to create and publish a story using the web version of Adobe Slate.
1. You will need to create a free Adobe log-in before signing into the Slate website or use an existing one.
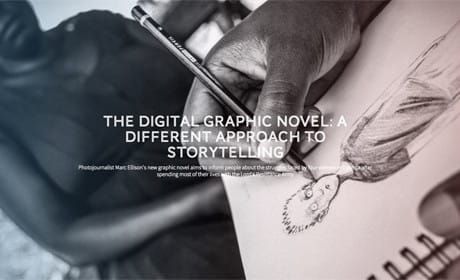
2. Once logged in, you will be prompted to create a new project and add a headline, subtitle and main image. For the purpose of this guide, I am recreating an existing piece on the role of digital graphic novels in journalism.
3. To add a main image, you can browse files on your computer, search online for existing photos with a Creative Commons license, and sync files from Adobe Creative Cloud or your Dropbox account.
Using the top right-hand menu, you can add a theme to your Slate, choosing from the 11 available – I've selected the Vintage theme. The platform also allows you to see what your work looks like, using the preview button at the top.
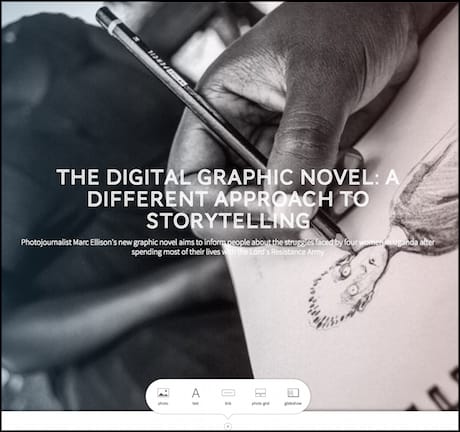
4. Scroll down to add additional photos, text, links, photo grids or glideshows (selections of images that let you scroll to navigate between text, as static images swiftly change in the background).
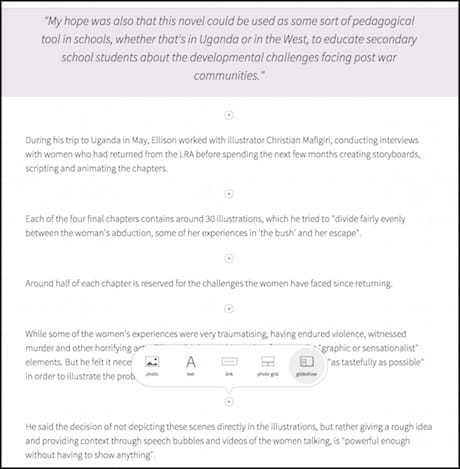
Clicking the 'text' button allows you to add any amount of text you wish, as well as standfirsts, bullet points, numbers, quotes and fiddle with the alignment options, similarly to WordPress. You can personalise each paragraph using the '+' button above it.
Slate doesn't offer the option to include hyperlinks in text, but clicking the '+' button under your main image and selecting the 'link' option will allow you to add a clickable button with your desired name.
If you want to link to previous work or context, this option might be worth considering, although there are no personalisation options for this button aside from changing its alignment.
5. Click any of the '+' buttons between paragraphs to include additional individual images to the story or create a photogrid or glideshow.
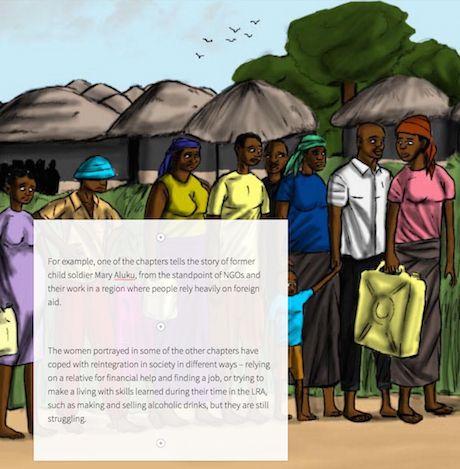
To make a glideshow, click the '+' button and Slate will prompt you to add a few background photos to get started – I've used three images from different chapters in the graphic novel.
The order of the pictures can be changed after they've been uploaded to suit the text paragraphs.
Click 'save' when you're good to continue and you will then be prompted to add text or links to each image. The text can highlight particularly important information from the piece, a quote or any additional details you want readers to see when they are 'gliding' over the images.
6. Once you are done editing the glideshow, the changes will be automatically saved, but you can always go back and edit the text or links by double-clicking on them.
Scroll up and down to navigate between images – the subtle transition doesn't require the reader to open and close any additional windows, as everything happens on the same page.
The images you've chosen will be displayed one after the other starting from your chosen point in the story, so the reading flow will not be interrupted if you decided to remove some information from the actual body of the article and include it only as text in the glideshow.