Six steps to setting up your home studio with a smartphone
Learn how to create professional content using mobile gadgets and DIY hacks


– 5 min read
Learn how to create professional content using mobile gadgets and DIY hacks
This article was migrated from an old version of our website in 2025. As a result, it might have some low-quality images or non-functioning links - if there's any issues you'd like to see fixed, get in touch with us at info@journalism.co.uk.
Working from home was thrust upon journalists when the world entered into a pandemic. It meant that bedrooms and living rooms quickly became our new newsrooms. That transition has full of perils and pitfalls. How many of us have been plagued by choppy audio and dark video in the last 12 months?
Well it does not need to be that way if you set up your home studio properly, and this does not require you to fork out a fortune.
At Newsrewired this week (18 May 2021), Bianca-Maria Rathay, founder of So Handy and an experienced television journalist, mobile content creator and videographer, lead a workshop how to set up your own home studio. From budget-friendly ideas and to DIY hacks, here are her six essential steps to creating a home studio.
Start with an important question: what do you need from your studio? Jot this all down as you will need it for the steps ahead.
Consider what platforms you are creating content for, your general rate of output and what your working budget is.
You will also need to know if you will be standing or sitting when presenting, if you need to be in a fixed or changing location, and what sort of lighting you need: natural or artificial light.
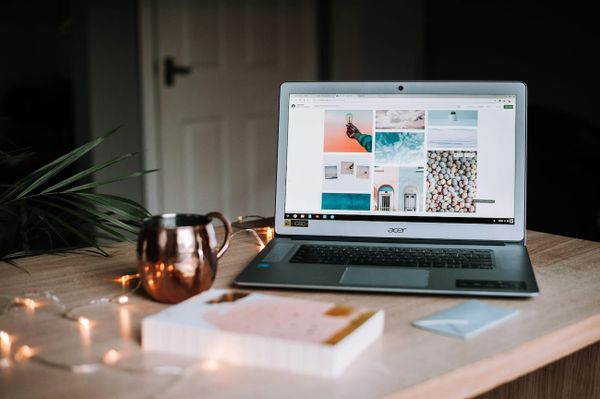
Consistent recording space is important if you plan on doing a series of videos from one location. Whether you intend to section off part of your living room, or have a dedicated room, make sure you have safe and organised storage for your equipment.
If you are working in a small room, you are best to record in the corner of the room and stand up to improve depth of sound.
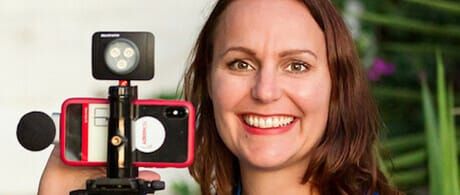
If you plan to change location a lot, consider investing in a good smartphone with a plug in microphone and an external light source, such as an LED.
Whatever your room, the acoustics need to be fit for recording audio. Avoid background noise at all costs, that might mean not using the room closest to the traffic. Wooden floors and lots of window panes can contribute to echoey audio.
Think about the furniture in the room too. Do you want desks, sofas or even a bar table to aid your presentation? Look at how other internet content creators set up. For example, YouTuber Vanessa Lau (below) favours a desk-style shot.
Try this exercise where you are: turn off your ceiling light and go into selfie mode on your smartphone. As you turn around 360 degrees, pay close attention to your face. Try to find when it looks most evenly lit.
This is normally when you are facing towards a natural light source, like a window. This will be your dominant shooting position from now on.
Overcast days will be your best friend and the days you want to shoot on. On sunny days, you will need shiny curtains to diffuse the light, and an alternative light source if it is dark outside.
Artificial light at least offers a consistent amount of light, and a controllable amount of light if you use dimmers. For this reason, you may prefer to opt for a windowless room.
Bear in mind that artificial light can be exhausting when you are over-exposed to it, and it can make you look too yellow and warm. Low voltage light bulbs or those with a blue hue can remedy this.
Small hack: if you create a coloured word document (word \> design \> select page colour) on your desktop computer, or buy coloured tin foil, this can reflect the colour you desire onto your face. You can also use white cardboard and tinfoil to reflect light, and black cardboard to direct light.
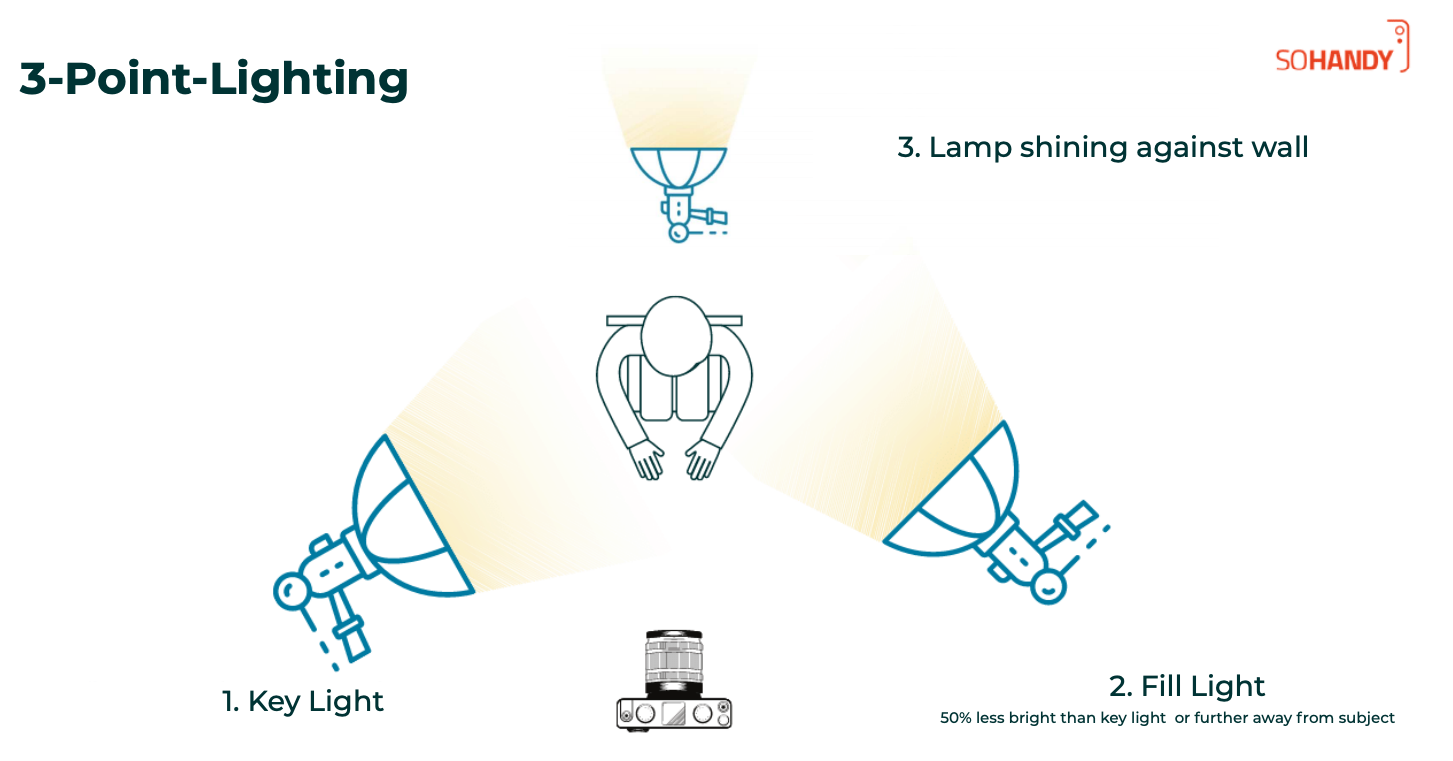
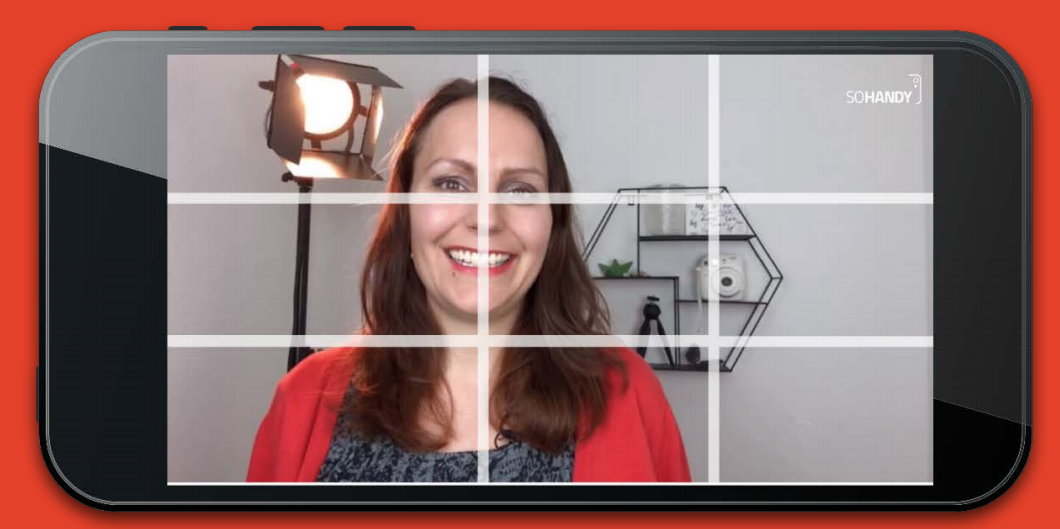
The (below) three-point lighting technique is widely used to enhance interviews, which gives evenly distributed light and pulls the subject into focus.
The backdrop matters. You need to avoid choosing colours that blend into your face or might be too contrasting.
A prime example comes courtesy of actress Andrea Ballschuh who posted on her LinkedIn a video of how changing her background, a wardrobe change and a lamp against the wall can make a stark difference.
Being too close to a white wall especially can create shadows behind you, so make sure to either be tight against it or a good distance away - not in between.
Cluttered bookshelves and desks can be distracting, and many favour a more simple and minimalist background. Watch out for lamps and other lights caught in the background which can produce a glare against walls.
Wistia's video (below) is a good example of minimalist background, good choice of colour and a well-lit set. This can even offset the effects of glasses wearers who are often plagued by glare on their lenses.
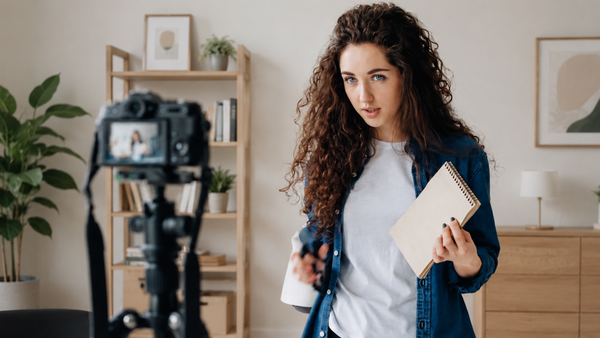
If you want good shots, there are some basic rules to follow. Number one: clean your lens. Thumbprints and dirt can dull your footage.
Use airplane mode and 'do not disturb mode' to save battery and avoid interruptions from calls and notifications.
Learn the rule of thirds, a television standard, and position the eyes on the two upper lines. This gives you adequate headspace above the subject, and situates them neatly in shot.
When presenting, look directly into the camera lens so that you maintain eye contact with the viewer. Otherwise, you will be looking off to the side.
Lock focus and exposure, or else the camera will continue to adapt to the lighting changes in the room whilst recording, meaning your shot will become lighter and darker. For iPhones, you can use the AE/AF lock feature to do this.
Always use a tripod for a clean and stable shot, or use a DIY hack using everyday household items. This can range from bottles with a rubber band or hair tie wrapped around your smartphone, a book shelf or a stack of books.
Audio is easy to get wrong, but crucial to get right. Bad audio spoils any video.
Worth stressing again: eliminate all background noise. Always do a soundcheck before hitting record on voiceover takes or interviews. Make sure you are going in with the best audio you can.
That means reducing reverb around you, using either microphone shields or blankets to contain the sound. It is better to go in with lower gain on your mic set-up and increase it in post-production. Do not neglect to warm up your voice either; nobody wants to listen to croaky audio.
When using internal microphones on Apple earphones (or equivalent equipment), put them underneath your clothes to hide them from shot. Only use the microphone on your smartphone as a last resort and you have no other alternative. The audio is often vulnerable to plosives (hard, popping sounds, like the letter P) and wind, so cover the end with a windsock - or normal sock - to prevent those irritating sounds.
Join us next week for more Newsrewired panels and workshops on 25 and 27 May 2021 - don't miss out, book your place today